10 Suggestions for Interior House Painting
A home can be significantly improved by interior painting or interior painting. A plain veranda can be transformed into a warm and comforting space, a simple bathroom🛀 can resemble a spa, and a plain living room can appear chic and contemporary. In interior painting, beautification is more important than in outside painting.
Suggestions for Interior House Painting Diwali
Before a drop of paint touches your wall, read and put these 10 suggestions to use if you want to bring out the beautiful effect of interior painting in your house.
10 suggestions to use if you want to bring out the beautiful effect of interior painting in your house.
- Surface Preparation by Sanding
- All trimmed or trimmed surfaces for painting in the house should be thoroughly rubbed with sandpaper.
- This makes it easier for the new finish to bond properly, resulting in smooth and even walls.
- We can choose sandpaper according to the roughness of the walls.
- Even if you want to add texture to the walls, the surface of the walls needs to be well-trimmed with sandpaper to prevent weak bonding and rapid crumbling of the texture material.
- Surface repair along with sanding
- Any area of the surface that requires repair should be noted with a pencil while being sanded. You won’t miss anything for the surface finish if you do it this way.
- If the area to be repaired is large, we can use gypsum board.
- Decor with Wood
- When working with new wood, the first thing to do is use a primer.
- Then fill the nail hole to the top of the surface with putty.
- Then completely smooth the surface with sandpaper.
- On any unprimed wood surface, never use chalk. The experiment will fail because doing so will dry out the chalk’s liquid delivery system.
- Dusting
- A lot of dust is created during surface preparation for interior painting. Cleaning up is a process that lasts the duration of the project.
- A smart technique to manage the passage of dust is to seal the vents in the room and the doors. For this, plastic is an option.
- You can clean an old paintbrush and use it as a duster. By doing this, everything will be dustfree before applying the final coat of paint.
- Paint Tools
- Never compromise on quality while purchasing paintbrushes. Cheap machinery will never produce the best outcomes. They make the task more challenging.
- Increasing hours of labor by saving some money on equipment is no savings.
- Painting Tips for Finish Quality
- A gallon of paint should never be used all at once. Use your rolling pan to apply a little amount of paint to the surface. If the rolling is slow, cover the pan with plastic.
- Continue using your brush to clean the can’s rim and sides. Brushing involves dipping the brush no more than halfway and tapping it back and forth within the container. Clean your brush occasionally.
- If the paint gets dirty, use a nylon sieve to remove the debris.
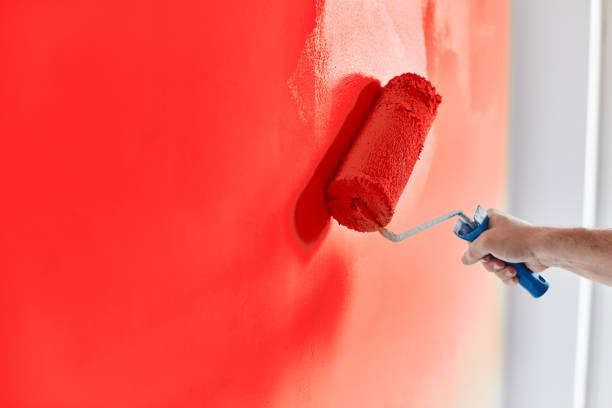
- Using a Roller for Special Effects
- Rolling a colour instead of brushing it might change how the shade reflects. Therefore, distinctive effects are created by rolling paint. It is referred to as “hatbanding.”
- Cut the room into halves and then roll. By doing this the uniformity of the shades will be maintained.
- Maintain consistent pressure on your rolled line at the top and bottom of the wall. The lines won’t be visible in this.
- Roll it as close as possible against a vertical surface such as a doorframe. This will give a good finish on trimming.
- Since paint can spread, hold your drop cloth against the wall.
- Trim Painting Tips
- The trim should first be divided into separate portions and bound together. The shades and the finish are kept by doing this.
- Depending on the size of the surface, use a smaller or larger paintbrush. Paint grains can be produced by using large or giant brushes.
- Do not paint the lower pair of the frame until the upper section is complete. You pick up the fibres and dust that the brush leaves behind when it hits the floor, and the paint and fibres end up on your frame.
- Protection from painting
- Cover the floor, furniture, and hardware before you start painting.
- Be sure to keep a drop cloth to clean the splints.
- Use small plastic sandwich bags secured with tape for door knobs and fixtures.
- Test of Loose Paint
- You can test it with a strip of duct tape to see if the surface will hold paint for years to come.
- For this lay a strip of fresh duct tape on the surface, then pull it off. If clumps of paint exceed the microscopic size, you may need to scrape and paint the surface again.
Related Posts
 Interior Design Ideas
You can renovate the bathroom with household items without spending, see the method here
 Vastu/Feng Shui

No Comment